 ou may have played shooters before, but have you ever attempted to create one? Shooting may be simple, but programming it is more challenging. In this section, you will develop a game that lets the player shoot apples in space as a ginger cat. You will discover how to move the cat using the keyboard and aim the weapon using the mouse pointer.
Before you start coding, take a look at the final program. Go to https://scratch.mit.edu/projects/830491701/ and play the game “shooting in space”.

SKETCH OUT THE DESIGN shooting in space
First, draw what you want the game to look like on paper. With some planning, you can turn the paper game into a computer game. (I never apologize for my puns.) My sketch for the maze game looks like the following figure.
If you want to create everything on your own, click File ▶ New to start a new Scratch project. In the text field in the upper left, rename the project from Untitled to shooting in space.
 MAKE THE CAT WALK AROUND
In the shooting in space game, the player will control the cat sprite. In Part A, you’ll set up the code to control the cat with the arrow keys on the keyboard.
EXPLORE: X- AND Y-COORDINATES in shooting in space
To make the cat move around the Stage, you need to use coordinates. Coordinates are numbers that represent an exact location. The x-coordinate (also called x position) is a number that represents how far left or right a sprite is on the Stage. In other words, x is the sprite’s horizontal position. The y-coordinate (also called y position) is a number that represents how far up or down a sprite is on the Stage. The y-coordinate is a sprite’s vertical position.
Used together, x- and y-coordinates indicate a sprite’s precise location on the Stage. The x-coordinate always comes first, and the coordinates are separated by a comma. For example, an x-coordinate of 42 and a y-coordinate of 100 would look like this: (42, 100).
In the center of the Stage is a point marked (0, 0), which is called the origin. In the following figure, I’m using the xy-grid backdrop from the Scratch Backdrop Library. (To load the xy-grid backdrop, click the Choose a backdrop button in the lower right and select the backdrop.) I’ve added several cat sprites who are all saying their x- and y-coordinates.
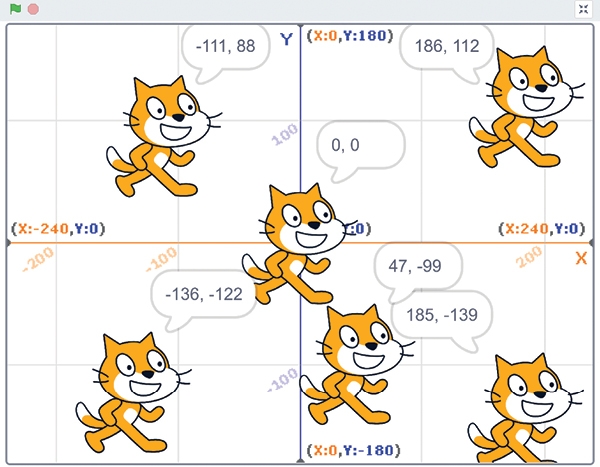
The rightmost side of the Stage has an x-coordinate of 240. The x-coordinates get smaller as you go left. In the center, the x-coordinate is 0. To the left of the center, the x-coordinates become negative numbers. The leftmost side of the Stage has an x-coordinate of −240. The y-coordinates work the same way: the top of the Stage has a y-coordinate of 180, the center is 0, and the bottom is −180.
Scratch displays the x- and y-coordinates of the currently selected sprite in the upper-right corner of the Sprite List. Sprites move around the Stage when you change their x- and y-coordinates, as shown here:
| To make a sprite go . . . | change its . . . | by a . . . |
| Right | x-coordinate | positive number |
| Left | x-coordinate | negative number |
| Up | y-coordinate | positive number |
| Down | y-coordinate | negative number |
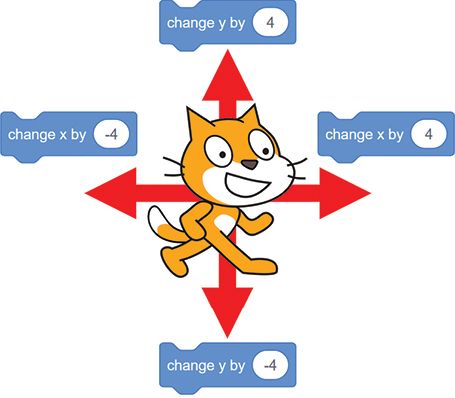
Many of the blocks in the dark blue Motion category, such as the change x by and change y by blocks, will change a sprite’s x
1. ADD MOVEMENT CODE TO THE PLAYER SPRITE
The first bit of code you’ll add will make the arrow keys move the cat sprite, which is named Sprite1. But first, click and rename this sprite Orange Cat. Then add the following code. You’ll find these blocks in the Events, Control, Sensing, and Motion categories.
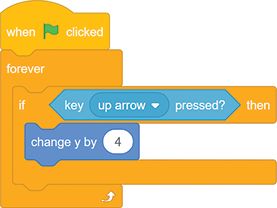
This code checks if the up arrow key is pressed and moves the cat sprite up by 4. The program continuously checks for the key press using a forever loop. Without the forever block, the program would end after checking for the key press only once. Make sure to include the forever block to prevent this. Use the change y by code block and ensure your code matches the code in the book for the program to work correctly.
SAVE POINT
Click the green flag and try moving the cat by pressing the up arrow key. Then click the red stop sign and save your program.
2. DUPLICATE THE MOVEMENT CODE FOR THE CAT SPRITE
Now you’ll add code for the other three arrow keys: down, left, and right. This code is similar to the code to move the cat sprite up. To save time, you can right-click or long press the orange if then block and select Duplicate to create a copy of the blocks. These blocks will be identical, so all you’ll need to change are the dark blue Motion blocks for the other directions. Duplicating blocks can often be faster than dragging new ones from the Block Palette.
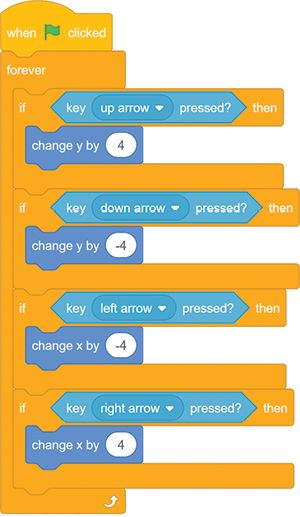
Scratch will now check if the four arrow keys are held down, one after another. After checking the right arrow key, Scratch starts back at the top of the loop and checks the up arrow key again. The computer checks them so fast that to human eyes, it looks like all of the arrow keys are being checked at the same time!

SAVE POINT
Click the green flag to test the code so far. The cat should walk up, down, left, and right when you press the arrow keys. Click the red stop sign and save your program.
If your program doesn’t work and you don’t know how to fix it, you can start over.
Code for moving the cat using the mouse pointer.
Let’s improve the movement of our ginger cat. Let it move using the upward arrow and in the direction of the mouse pointer.

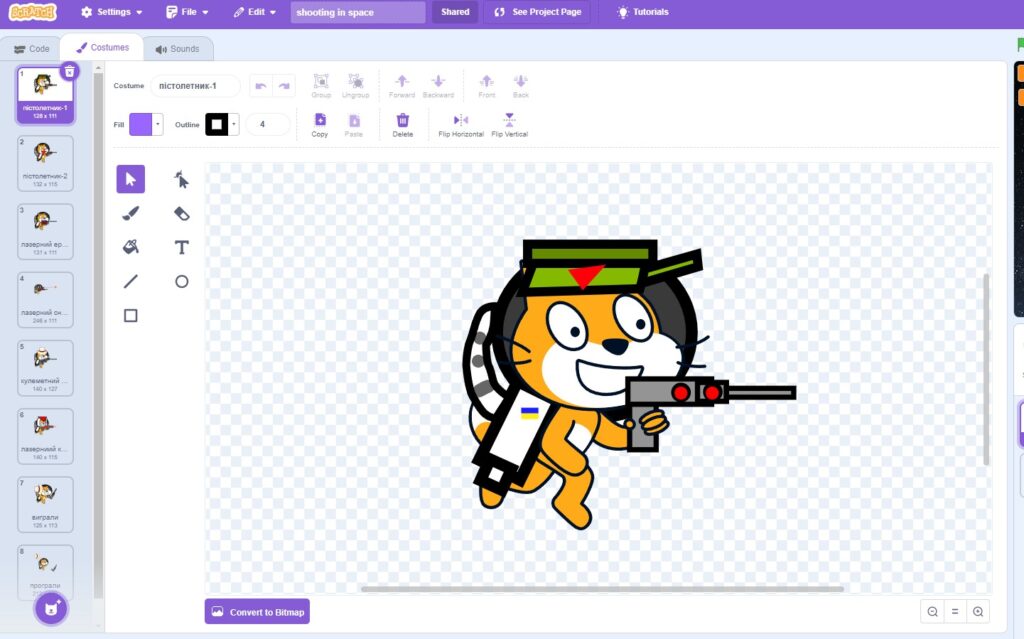
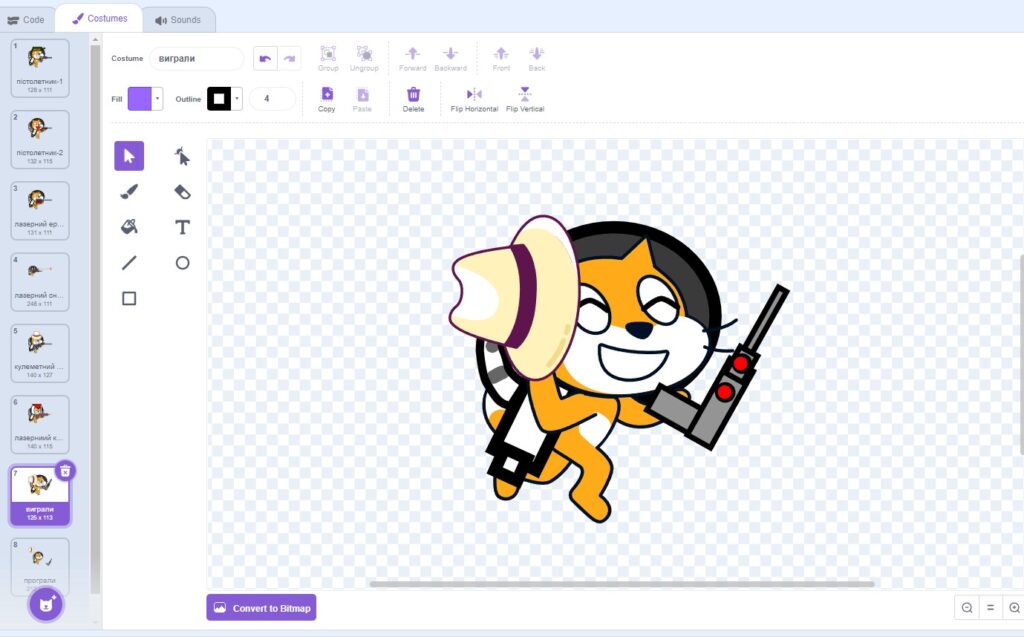
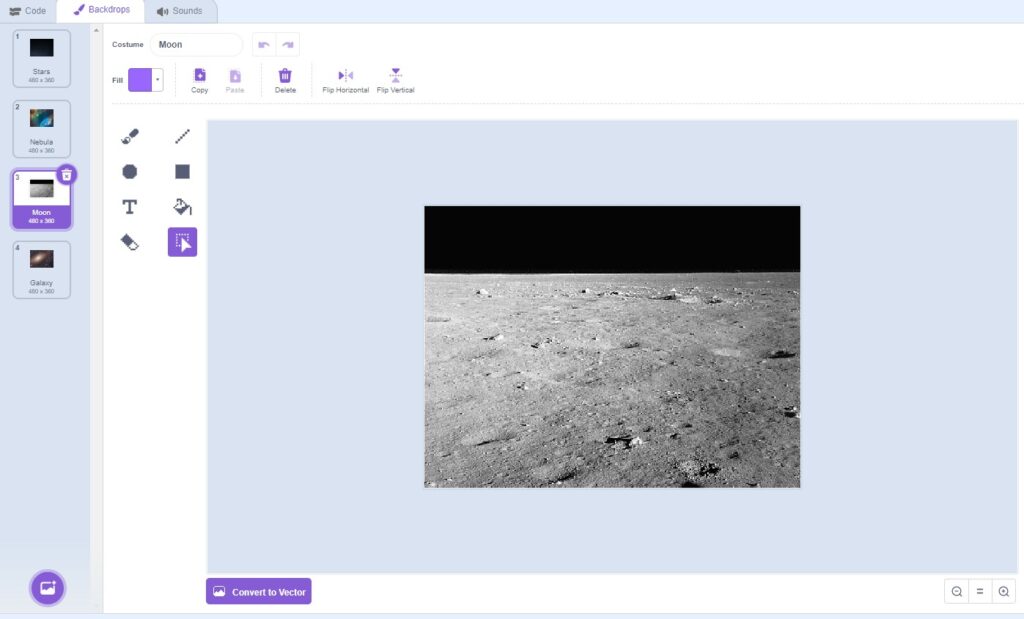
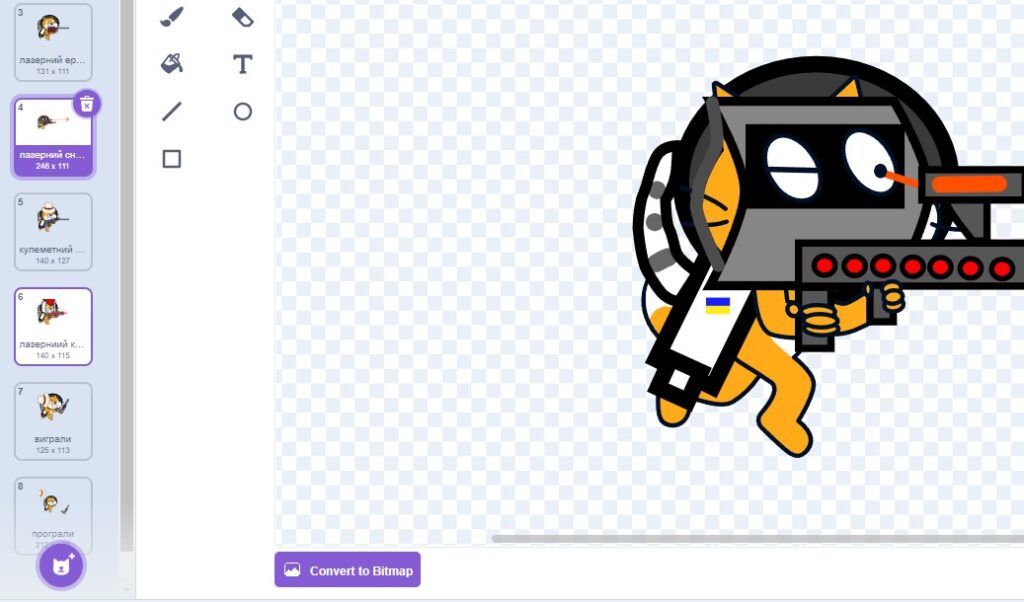
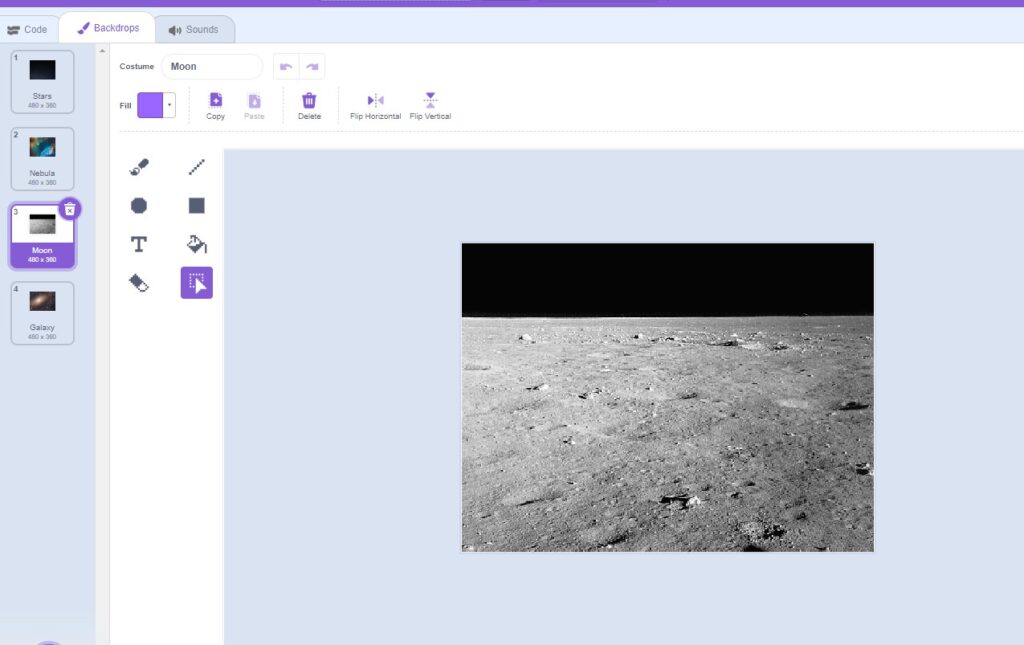
 Creating costumes for the cat and background.
Next, we’ll create a costume for the cat and choose a background from the library of backgrounds.
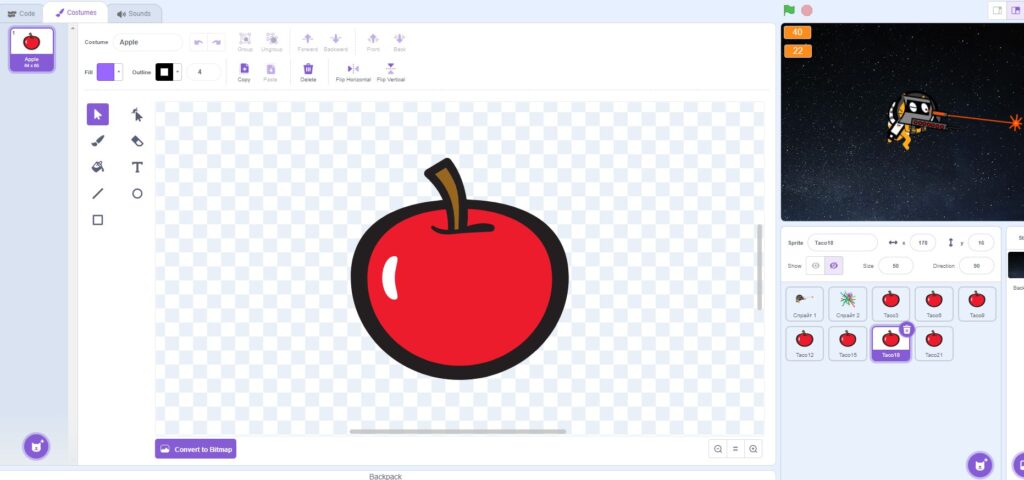
To add a new sprite, an apple, from the sprite library, you can follow these steps:
- Click on the “Sprites” tab.
- Click on the “Choose a Sprite” button.
- In the “Sprite Library” section, type “apple” into the search bar and press Enter.
- Select the “Apple” sprite from the results.
- Click on the “OK” button to add the sprite to your project.
Once you have added the sprite, you can customize its costumes by using the drawing tools. To do this, select the sprite and click on the “Costumes” tab. You can then use the tools to create new costumes or edit existing ones.
Сreating clones
To create different images for the apple sprite, we can use the “Costumes” tab in the sprite editor. Here are the steps to create the images:
- Open the apple sprite editor by clicking on the sprite and selecting “Edit”.
- Click on the “Costumes” tab in the sprite editor.
- Click on the “New Costume” button to create a new costume.
- Use the drawing tools to draw the first image of the apple. This could be a green apple, for example.
- Click on the “Duplicate” button to create a copy of the costume.
- Use the drawing tools to modify the second costume to create a red apple.
- Repeat steps 5 and 6 to create the remaining costumes for the yellow, blue, and brown apples.
- Save the sprite and exit the sprite editor.
Now the apple sprite should have multiple costumes with different colors. To change the sprite’s costume during the game, we can use the “next costume” block in our scripts..
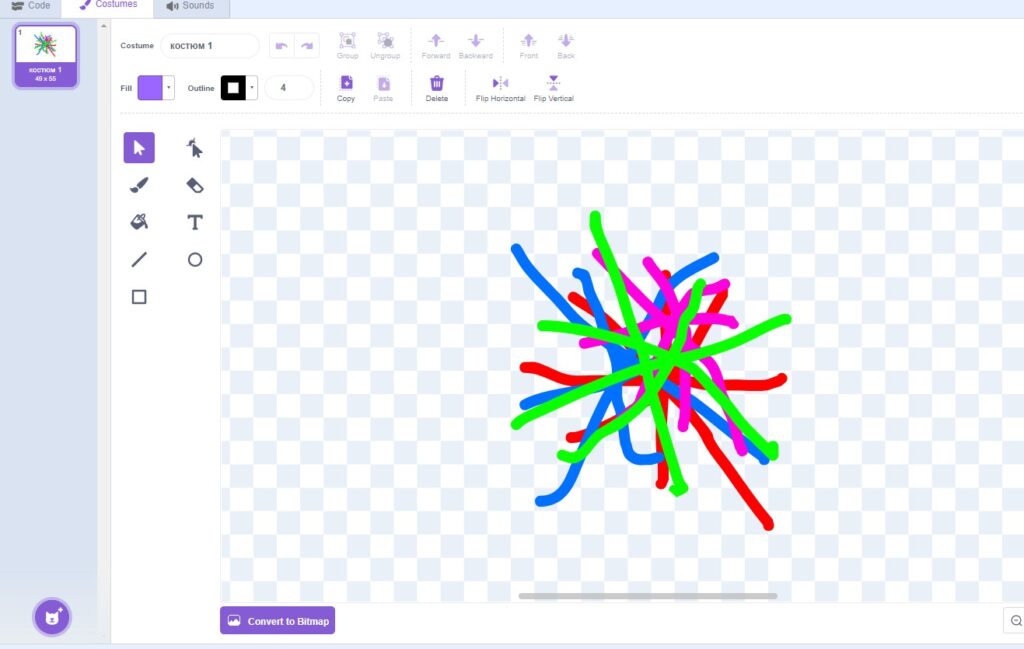
Let’s draw a laser blast sprite.
The next step is to choose a background.


3. Scripts for the cat
To make the cat move towards the mouse pointer, we need to use a script that constantly turns the cat towards the pointer and moves it a few steps in that direction. The cat should be placed at the center of the stage to begin with.
Add a script to the cat:

4. Scripts for the apple in shooting in space
Add a script to the cat:

Firstly, we need to hide the apple sprite because we only need its clones, not the original. Additionally, we need to constantly create a copy (clone) of the sprite on the scene, so we create a clone inside a FOREVER loop. Furthermore, we should create clones in batches of 10 to optimize the process. To do this, we can use a block for creating a new clone. Moreover, we should wait for 2 seconds between creating clones, so they are not created too quickly. Lastly, it’s worth noting that fruits are created in batches of 10, and then we wait for another 2 seconds before creating more.
The clones of sprites will appear only during the game (after pressing the green flag). To destroy all created clones, you need to stop the game by clicking on the red STOP button located next to the green flag.
To add a script to the apple sprite, you can follow these steps:
- Select the apple sprite.
- Click on the “Scripts” tab.
- Click on the “Add Script” button.
- Choose the type of script you want to add (e.g. “When Flag Clicked”).
- Add your code to the script.
- Save your changes.
You can then test your game and make sure that the apple sprite behaves as expected.

The script will only run for clones.
To add some variation, we randomly select one image from the available set (there may be apples of different colors), and change the clone’s image accordingly. Please make sure to replace the number “5” with the total number of images that have been added.
Next, we move the sprite to a random location on the screen. If the sprite goes beyond the screen’s boundaries, we change its coordinates to ensure that it stays within the visible area. Once we have done this, we show the sprite clone on the stage.
During the game, we keep track of whether the apple is hit by a laser explosion. If the laser explosion hits the apple, we destroy the clone, which will cause the fruit to disappear from the screen for the player.
5. Scripts for laser in shooting in space
Now we will write a script for the laser.

The script will only be executed for the laser. Once the mouse button is pressed, a red laser trail will appear on the screen. Subsequently, the laser line will stretch from the cat to the mouse pointer. At the end of the line, a laser explosion sprite will appear. If the laser explosion sprite touches an apple, we will destroy the clone, which will cause the fruit to disappear from the screen for the player.

This script displays the explosion sprite at the coordinates where the mouse pointer will be.
6. Scripts for background.
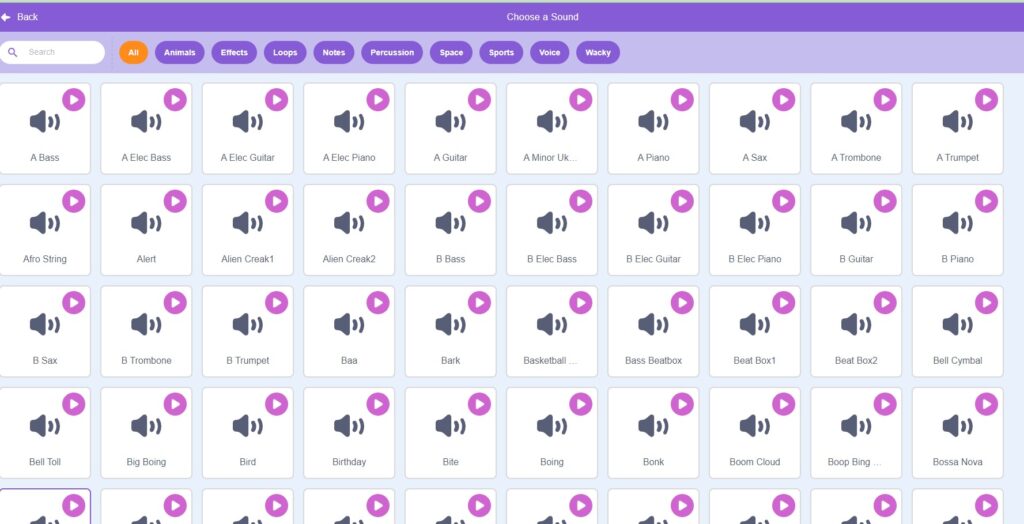
Firstly, we need to import the music file into Scratch. To do this, we can click on the “Sounds” tab and then click on “Import”. Then, we can select the music file that we want to use.
Next, we can add the music script to the cat sprite. We can use the “play sound” block from the “Sound” category to play the music. We can also add a “forever” loop to continuously play the music throughout the game. To stop the music, we can use the “stop all sounds” block.

The melody can be selected from the sound library.

SAVE POINT
Click the green flag to test the code so far. The cat should shoot at the apples and they will disappear. Click the red stop sign and save your program.
Clicking the green flag will allow you to test the code you have written so far. If everything is working correctly, the cat should be able to shoot at the apples, causing them to disappear. Once you have finished testing, be sure to click on the red “Stop Sign” to end the program. Don’t forget to save your program before exiting.
If your program does not work as expected, you can try debugging your code by reviewing the scripts and checking for any errors. Make sure that you have added all the necessary code and that it is correctly formatted. You can also consult online resources or forums to seek help from other users who may have encountered similar issues.
Video of the game ‘shooting in space’
SUMMARY
In this game, we created a cat that can move and shoot at apples.
Comments
One response to “Shooting in space”
[…] cat also needs to walk left and right by use of the WASD keys, so add the following script to […]